May 25, 2026 • Cassidy Vane • 9 min reading time • Prices verified June 6, 2026
Beyond the Spike: Starting Blocks and Training Gear That Actually Improve Your Race-Day Setup
Most of the money in track goes toward spikes — and rightfully so. But if you’ve been in the sport for a season or two, you’ve probably noticed something: two athletes wearing the same shoe can produce very different results off the line. A lot of that gap lives in the gear that surrounds the shoe. Starting blocks (the adjustable metal or composite frames sprinters brace against at the start of a race), resistance tools like sleds and parachutes, and even seemingly small things like spike wrenches and warm-up flats all shape what happens when the gun fires. This guide is for the athlete or coach who has the footwear side mostly figured out and is now asking: what else actually moves the needle? We’ll name specific products, show the math where it matters, and give you clear if/then decision rules so you don’t spend money on gear you’re not ready to use.
Starting Blocks: The Most Underrated Piece of Sprint Equipment
Let’s establish the stakes first. World Athletics Technical Rule TR 5.4 (per the World Athletics Technical Rules document) mandates that starting blocks be used in all sprint events up to and including 400 meters at sanctioned competitions. At the high school and collegiate level, most programs own a set of blocks that athletes share — and those communal blocks are often worn, mis-adjusted, or simply not fitted to your body. Owning your own blocks isn’t a luxury flex; it’s a consistency tool.
What to Look For in a Block
Spike compatibility. Blocks have a rubber-covered footplate surface. The depth and stiffness of that surface interacts with your spike plate. Athletes in stiff-plated carbon sprinters (like the Nike Air Zoom Maxfly or the Adidas Adizero Prime SP2) will notice that a firmer block footplate gives cleaner energy transfer; a worn, soft footplate can actually absorb the force you’re trying to generate through the block.
Adjustability range. The two pedals on a standard block (front and rear) need to accommodate your hip-to-ankle geometry. The block spacing — the distance between the front and rear pedal — and the pedal angle both affect how much hip extension you can generate in the drive phase (the first explosive push out of the blocks). Flotrack’s coaching content consistently notes that athletes who set their own blocks regularly outperform those who eyeball shared gear, simply because familiarity removes one variable.
Weight and portability. If you’re doing block work at multiple facilities — a school track, a weekend meet, a summer club — a lighter block matters. Most competition-grade aluminum blocks run 1.5–2.5 kg (roughly 3–5.5 lbs). That’s a real bag-weight difference over a season.
Block Recommendations by Budget
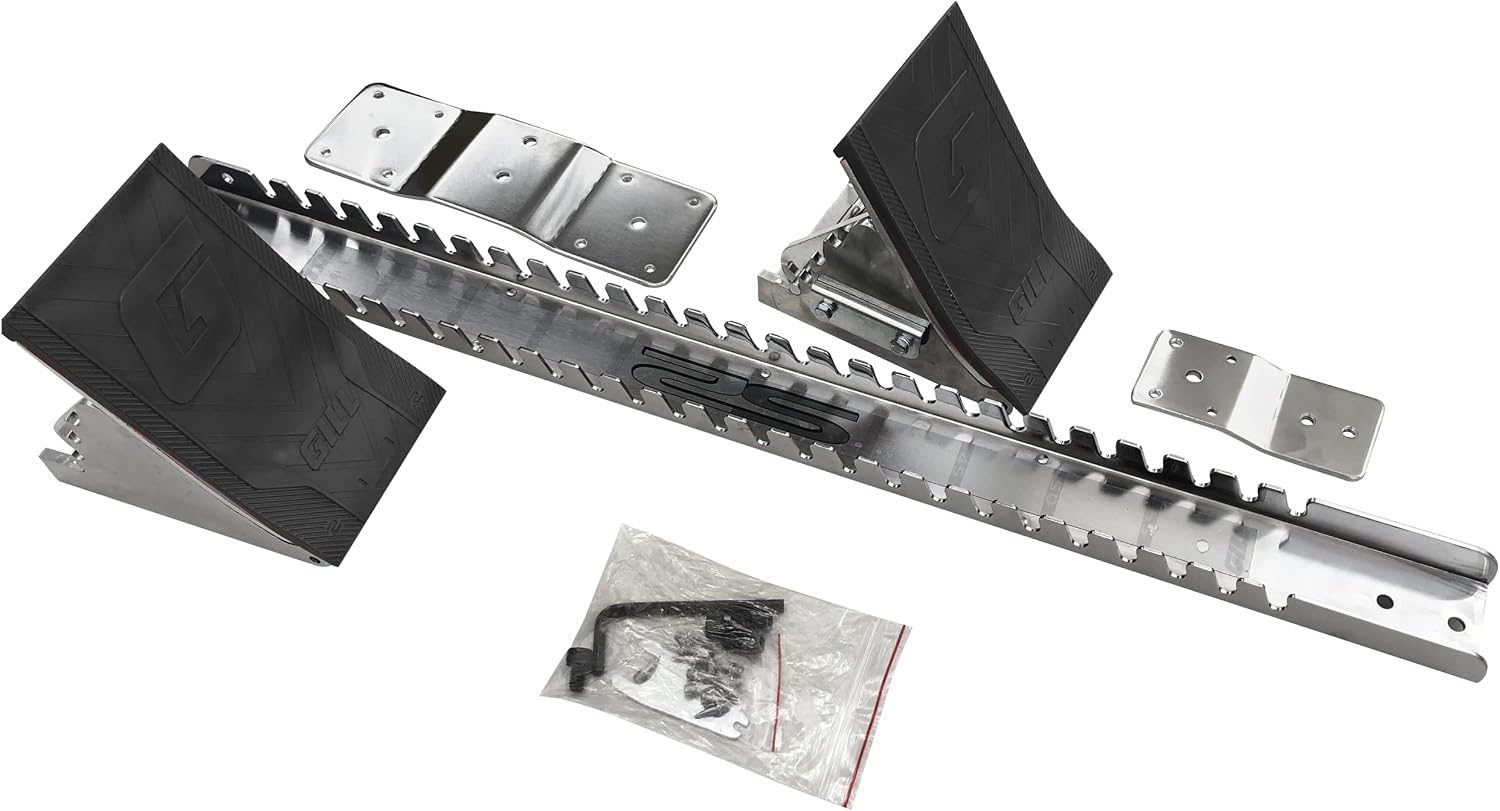
The Gill Athletics G3 Starting Block (approximately $120–$135 at specialty retailers as of early 2026) is the most commonly cited entry point for serious high school athletes. Track & Field News equipment coverage has repeatedly listed Gill as the dominant domestic competition supplier, and user reports across coaches’ forums confirm the G3’s adjustment range handles both compact and extended block settings comfortably.
The Nelco International Starting Block (approximately $90–$110) is the budget-conscious alternative that still meets World Athletics equipment standards. The tradeoff, per aggregated athlete reviews, is slightly less precise pedal locking under repeated heavy push forces — adequate for training and JV competition, less ideal for elite-level starts.
At the top of the bracket, the Polanik Sprint Starting Block (approximately $160–$200) is what you’ll see on the backstretch at NCAA championships. Published specs put its rail construction in aerospace-grade aluminum with a wider adjustment range than most domestic competitors. If you’re post-high school and making starts a technical priority, this is where the spend makes sense.
By the numbers:
| Block | Price Range | Weight | Best For |
|---|---|---|---|
| Nelco International | $90–$110 | ~2.1 kg | Training, entry competition |
| Gill Athletics G3 | $120–$135 | ~1.9 kg | HS varsity through college club |
| Polanik Sprint | $160–$200 | ~1.6 kg | NCAA/post-collegiate |
Resistance and Overspeed Training Tools: Know What You’re Buying
This category has a lot of noise. Walk through any track meet warmup area and you’ll see athletes dragging sleds, strapping into parachutes, and running with bungee cords. The question isn’t whether resistance training works — the biomechanics research base is solid — it’s whether you’re using the right tool for your event and training phase, and whether you’re buying quality that actually holds up.
Sprint Sleds
A sprint sled is a weighted platform you drag behind you via a waist harness. The load forces you to produce more horizontal force per stride, which, over time, trains the hip extension mechanics that directly transfer to sprint acceleration.
Podium Runner’s sprint mechanics features consistently distinguish between heavy sled work (loads above 30% of body weight, used for pure strength adaptation) and light sled work (10–20% of body weight, used to improve acceleration mechanics without distorting stride pattern). If you’re using a sled primarily to improve your block drive and first-20-meter mechanics, you want a sled that allows precise loading — not one that only accommodates a fixed weight.
The Perform Better Speed Sled (approximately $60–$80) is the category standard for club and high school athletes. It accepts standard weight plates, which almost every program already owns, and the harness system gets solid marks from coaches for durability across repeated use. The honest caveat: the included harness on budget sleds often frays within a season of heavy training. A replacement nylon sprint harness ($20–$30 standalone) is a smart add if you’re using it more than twice a week.
The Sklz Speed Sled (approximately $45–$55) is slightly lighter-duty and better suited for younger or lighter athletes who need lower absolute loading. Runner’s World training tool coverage has cited it as a reasonable introductory tool, but notes it’s less adjustable for taller, heavier sprinters.
Sprint Parachutes
A sprint parachute deploys behind you as you accelerate, creating air resistance that scales automatically with your speed — unlike a sled, which provides constant resistance regardless of velocity. That makes parachutes more useful for top-speed training phases than for block-drive work.
The tradeoff is consistency: wind affects how the parachute opens, which means your resistance load varies session to session. This isn’t a dealbreaker, but it’s worth knowing. Parachutes work best in calm conditions or indoor facilities. For outdoor use in variable wind, a sled gives you more controllable training data.
The Sklz Speed Chute (approximately $30–$40) is the most common entry point and handles the basic use case for high school athletes well. The Perform Better 56” Speed Chute (approximately $55–$70) provides meaningfully higher resistance and a more durable canopy, per aggregated coach reviews — the right step-up for athletes in the 11.x/22.x range who have already been doing parachute work for a season.
Decision rule: If you’re primarily working on your first 20 meters and block mechanics, buy the sled first. If you’re already dialed on acceleration and want to develop top-end velocity, add the parachute second.
The Overlooked Stuff: Warm-Up Flats, Spike Wrenches, and Spike Kits
These aren’t glamorous, but athletes who skip them pay for it.
Warm-Up Flats
Racing in spikes for your full warmup warms up the spike — but it also accelerates wear on the plate and the pins, and on harder surfaces it can stress your feet unnecessarily before a race. A dedicated warm-up flat with a resilient midsole protects both you and your gear investment.
You don’t need a carbon-plated trainer for this. Any responsive neutral flat in the $80–$120 range works. The key spec to look for is a balanced heel-to-toe drop (6–8mm is typically cited as the range that best mimics spike geometry without the aggressive forefoot bias) and enough stack to absorb warmup mileage on asphalt or concrete.
Spike Wrenches and Spike Kits
A stripped spike pin can ruin a race morning. A quality L-shaped spike wrench ($8–$15) and a set of replacement pyramid or needle spikes in your event’s legal length (World Athletics TR 6 specifies maximum spike protrusion by surface type) belong in your bag at all times.
For track surfaces: pyramid spikes (the standard blunt-tip type) are legal and appropriate for all-weather tracks. Needle spikes (sharp, narrow pins) are reserved for cinder or grass surfaces where penetration depth matters. Most modern polyurethane competition tracks are optimized for pyramid configuration — using needle spikes on a modern track can actually reduce grip and damages the surface. Per World Athletics Technical Rule TR 6, spikes at outdoor track facilities may not exceed 9mm in length; indoor tracks cap at 6mm. Carry both lengths.
Building Your Setup in Order of Priority
Here’s the honest decision tree for where to spend next, assuming you already have your event-specific spikes:
If you’re a sprinter (100m–400m) who doesn’t own blocks: Buy your own blocks before any resistance tool. The Gill G3 is the right call for most high school and college athletes. Your block setup has direct, immediate race-day impact.
If you own blocks and want to improve acceleration: Add a sprint sled (Perform Better Speed Sled or equivalent) and use it in your first four weeks of training blocks. Light loading (10–15% body weight) twice weekly is sufficient to produce adaptation without accumulating excess fatigue.
If your acceleration is solid and you want top-end work: Add a sprint parachute as a secondary tool. Use it in the middle of your training cycle when top-speed sessions are a priority.
If you’re a distance runner or middle-distance athlete: The block and sled conversation is mostly not yours — but warm-up flats, a spike wrench, and a well-organized spike kit are just as relevant. The one resistance tool that crosses over for 800m–1500m athletes is a lightweight resistance band for hip activation drills, available for under $20, and consistently cited in Flotrack coaching content as underutilized by mid-d athletes.
The through-line in all of this: the expensive spike only performs as designed when everything around it is dialed. That means your block setting is calibrated to your body, your warm-up protocol isn’t destroying your equipment, and your training tools are matched to what you’re actually developing. Get those fundamentals in order and the gear starts earning its cost.